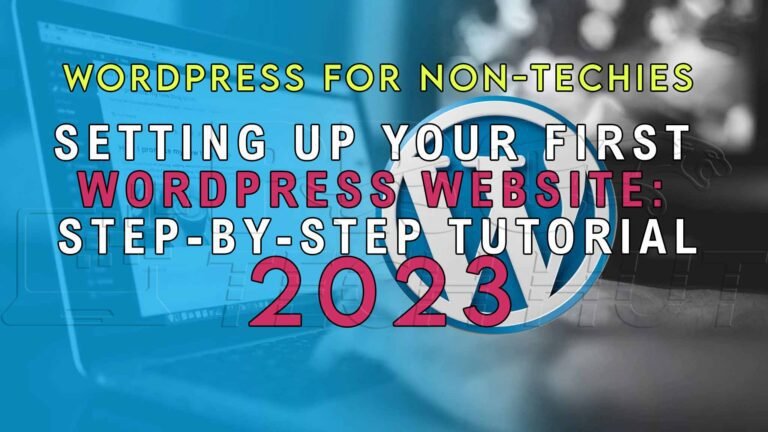
Setting Up Your First WordPress Website: Step-by-Step Tutorial
In today’s digital age, having a professional and functional website is crucial for businesses, bloggers, artists, and practically anyone who wants to establish an online presence. With its user-friendly interface and extensive customization options, WordPress has emerged as one of the most popular platforms for creating websites. If you’re new to the world of web development, fear not – this step-by-step tutorial will guide you through the process of setting up your very first WordPress website.
Step 1: Choose a Domain Name and Hosting Provider
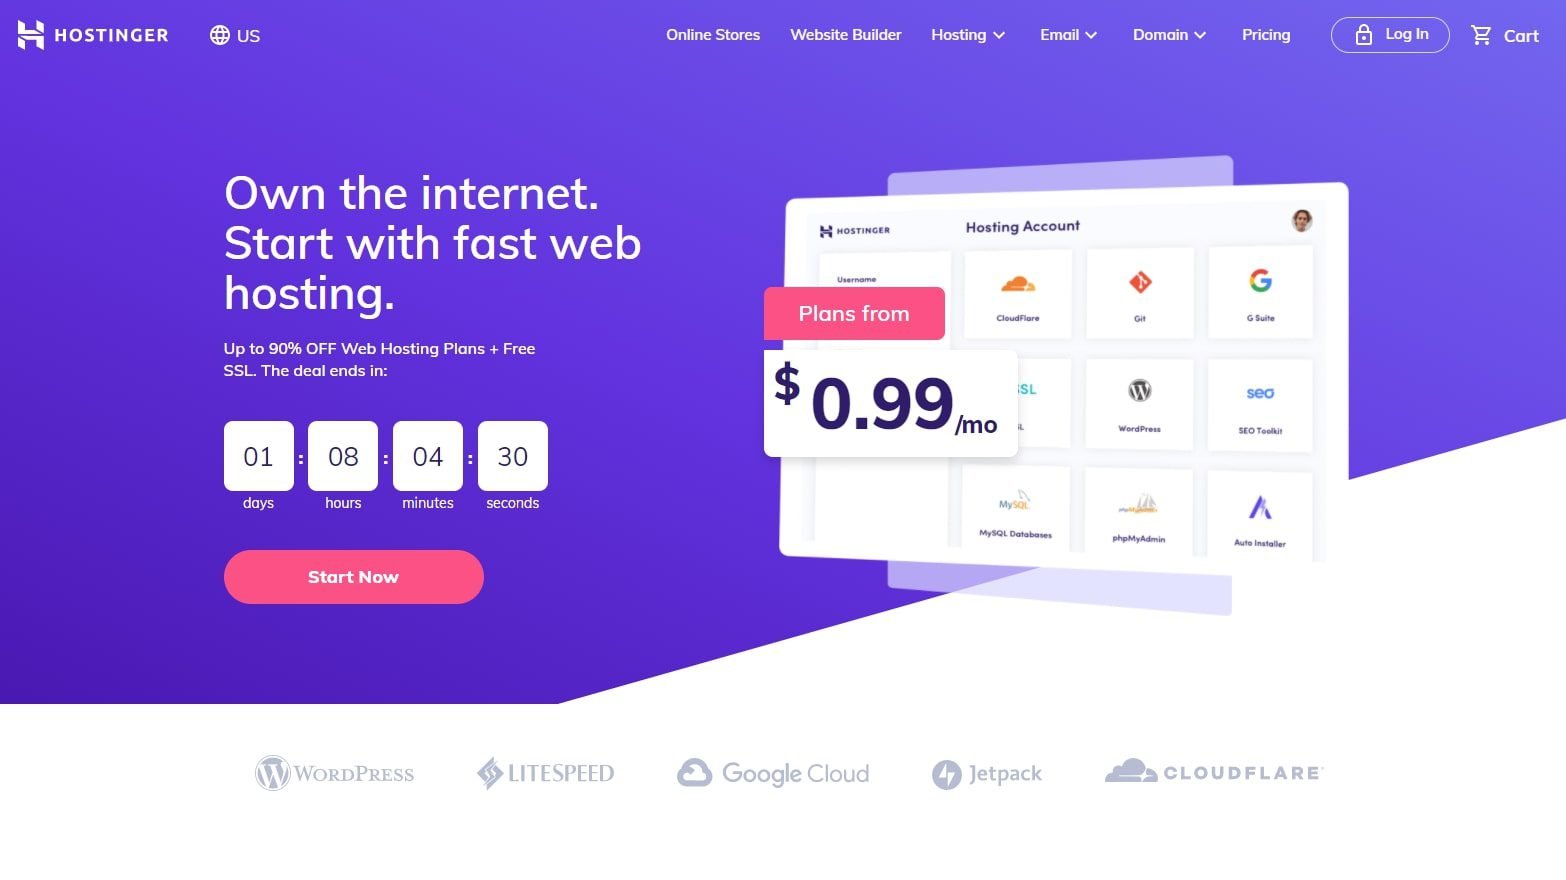
The first step in creating your WordPress website is choosing a domain name and a hosting provider. Your domain name is your website’s address on the internet (e.g., www.yourwebsite.com), while a hosting provider is a service that stores your website’s files and makes them accessible online. Popular hosting providers include Hostinger Bluehost, and SiteGround.

Step 2: Install WordPress
Most hosting providers offer a quick and easy way to install WordPress. After logging into your hosting account, look for the option to install WordPress. Follow the on-screen instructions, and within minutes, you’ll have WordPress up and running on your domain.
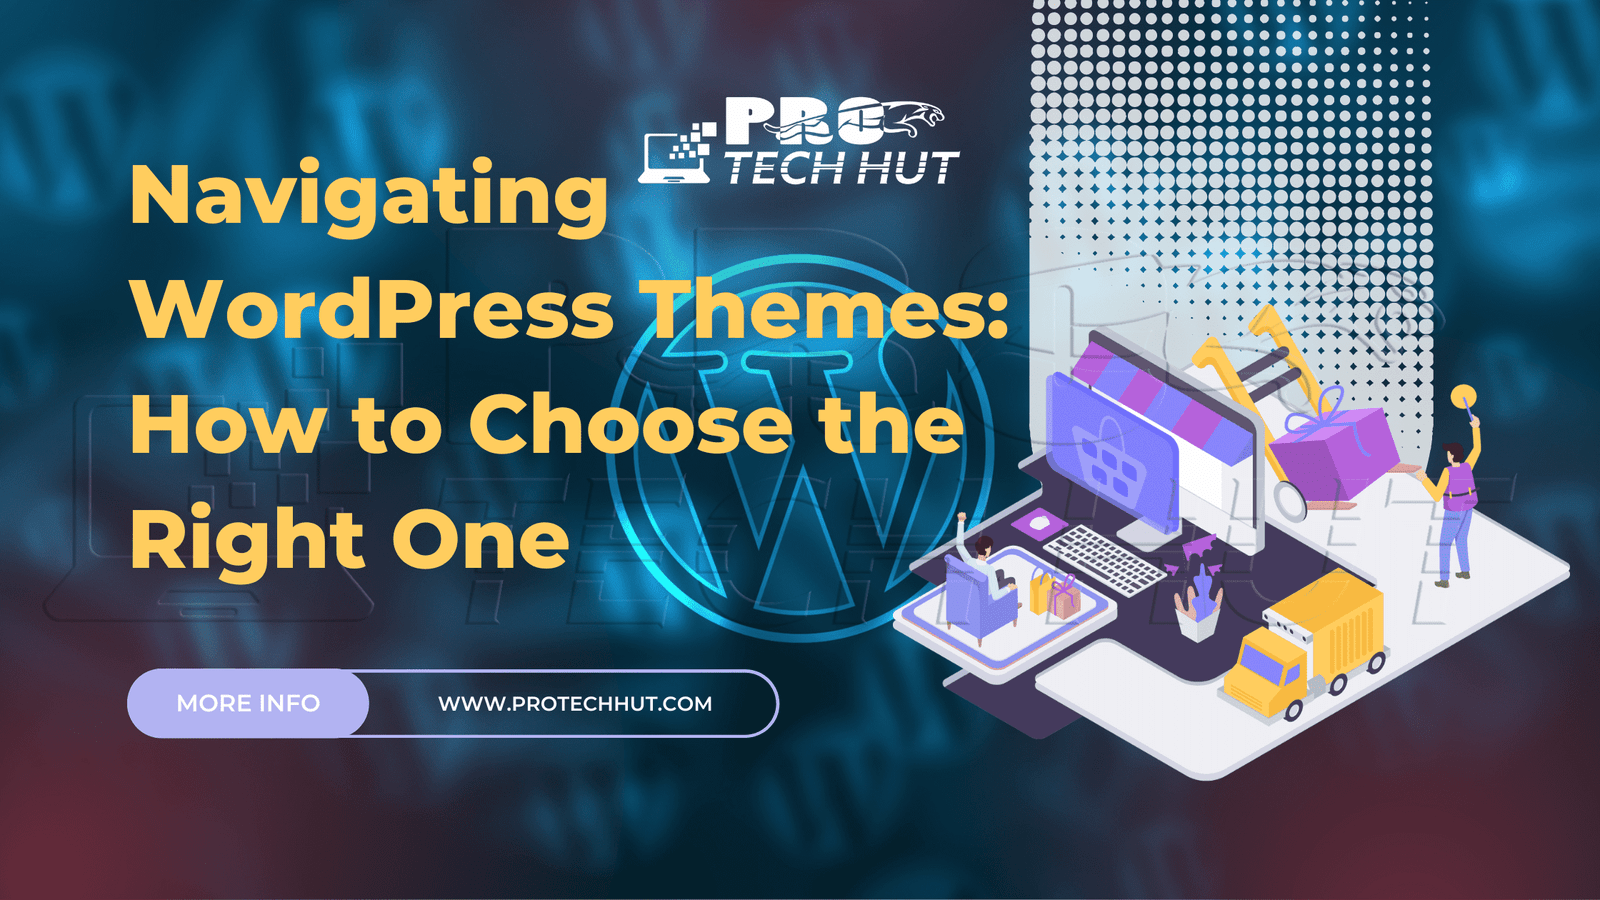
Step 3: Choose a Theme
WordPress themes determine your website’s appearance and layout. There are thousands of free and premium themes available. Browse through the WordPress Theme Directory or third-party theme marketplaces to find a theme that suits your website’s style and purpose. Once you’ve found the perfect theme, install and activate it.
Step 4: Customize Your Website
With your theme in place, it’s time to customize your website’s look and feel. Navigate to the WordPress Customizer, where you can modify various elements such as colors, fonts, header and footer settings, and more. Many themes also come with their own customization options, allowing you to create a unique and personalized website.
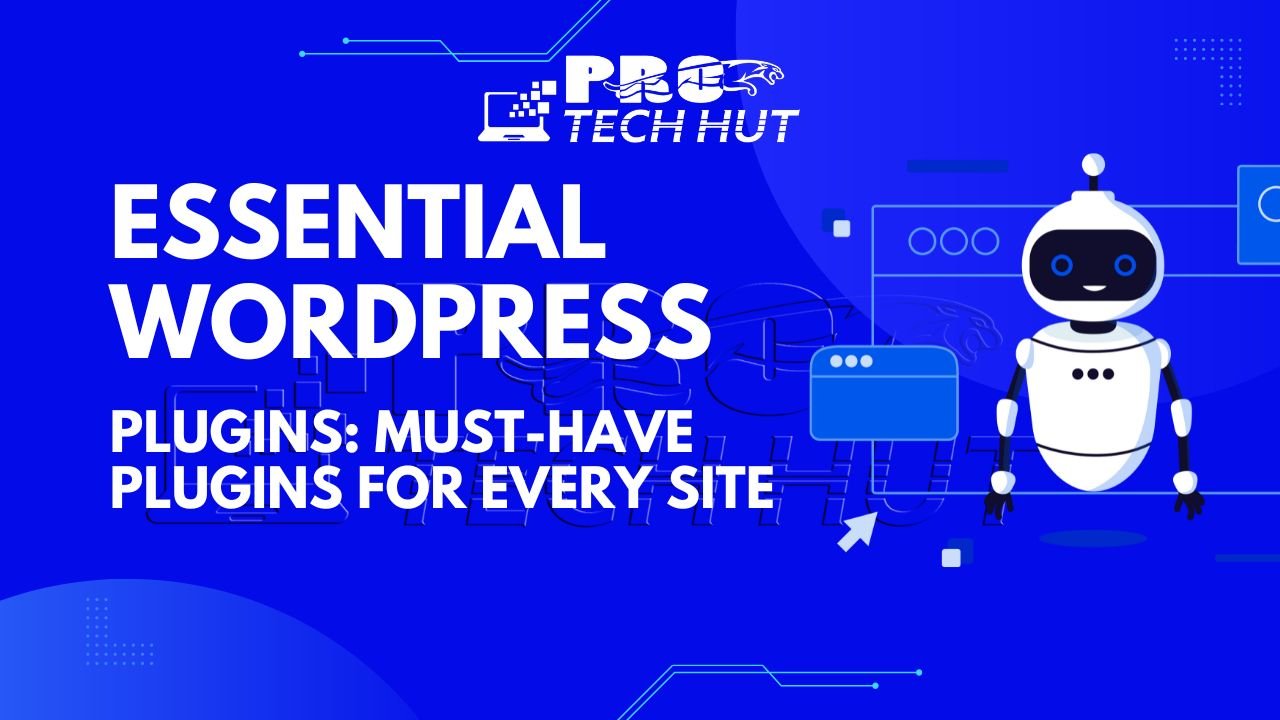
Step 5: Install Essential Plugins
Plugins are like apps for your WordPress website, adding extra functionality and features. Some essential plugins to consider are:
- Yoast SEO: Helps optimize your website for search engines.
- W3 Total Cache or WP Super Cache: Improves website speed and performance.
- Akismet Anti-Spam: Protects your website from spam comments.
- UpdraftPlus: Backs up your website’s data.
Step 6: Create Essential Pages
Every website should have certain fundamental pages:
- Home: Introduce visitors to your website and its purpose.
- About: Provide information about yourself, your business, or your project.
- Contact: Make it easy for visitors to get in touch with you.
- Blog: If you plan to publish regular content, set up a blog page.
Step 7: Add Content
Now that your website structure is in place, start adding content. Create pages and blog posts that are relevant to your website’s goals. Write engaging and valuable content that appeals to your target audience.
Step 8: Optimize for SEO
Search Engine Optimization (SEO) is crucial for making your website discoverable on search engines like Google. Use the Yoast SEO plugin to optimize each page and post for relevant keywords, meta descriptions, and other SEO elements.
Step 9: Test Responsiveness
Ensure your website looks and functions properly on various devices, including desktops, tablets, and smartphones. Most modern WordPress themes are designed to be responsive, but it’s a good idea to double-check.
Step 10: Launch Your Website
Congratulations! Your WordPress website is now ready for the world to see. Before officially launching, make sure to proofread all your content, test all links, and ensure that everything is working as intended. Once you’re satisfied, announce your website’s launch on social media and any other relevant platforms.
Final Thoughts
Creating your first WordPress website might seem like a daunting task, but with the right guidance, it’s a manageable and rewarding endeavor. Remember that your website is a dynamic entity – don’t be afraid to experiment, learn, and evolve as you go. As you gain more experience, you can delve into more advanced features and continue to enhance your website’s functionality and design. Good luck on your WordPress journey!


6 thoughts on “Setting Up Your First WordPress Website: Step-by-Step Tutorial”
Good blog post. I certainly appreciate this site. Keep it up!
Thanks a lot
You actually make it seem so easy with your presentation but
I find this matter to be actually something which I think
I would never understand. It seems too complicated and extremely broad
for me. I’m looking forward for your next post, I’ll try
to get the hang of it!
Наша бригада профессиональных исполнителей завершена предоставлять вам новаторские системы, которые не только ассигнуруют прочную покров от заморозков, но и подарят вашему зданию трендовый вид.
Мы занимаемся с последними строительными материалами, сертифицируя постоянный термин службы и выдающиеся результирующие показатели. Теплоизоляция фронтонов – это не только экономия энергии на подогреве, но и внимание о экологии. Энергоспасающие подходы, которые мы используем, способствуют не только зданию, но и сохранению природных богатств.
Самое главное: Средняя цена утепления фасада у нас начинается всего от 1250 рублей за м2! Это бюджетное решение, которое преобразит ваш домик в действительный комфортный уголок с небольшими затратами.
Наши пособия – это не только изоляция, это разработка пространства, в где каждый элемент символизирует ваш свой образ. Мы примем во внимание все все твои просьбы, чтобы переделать ваш дом еще еще больше комфортным и привлекательным.
Подробнее на https://www.ppu-prof.ru/
Не откладывайте занятия о своем жилище на потом! Обращайтесь к профессионалам, и мы сделаем ваш дом не только теплее, но и модернизированным. Заинтересовались? Подробнее о наших предложениях вы можете узнать на официальном сайте. Добро пожаловать в пространство комфорта и высоких стандартов.
order valtrex online uk
Can you be more specific about the content of your article? After reading it, I still have some doubts. Hope you can help me.